This is my first match of the Betrayal
Campaign we are playing.
We are currently in the Phase I: The Ashes of Treachery, which means:
- loyalist can get 3 fortifications as allied detachments
- traitors can leave infantry, jump infantry or walkers in reserves and use Deep Strike. Additionally, in the same turn they appear, they can assault.
We decided the battle would be World Eaters, Traitors, vs Sons of Horus, Loyalist, for 1500 Points.
Sons of Horus Army
Since I
got the Knight I have wanted to try it in battle, so I decided I will use it, even though I believe 1500 Points is not enough points to spend 375 on a Knight.
The Army consist of:
- Consul with Combi-weapon, melta bombs and artificer armour
- 2x 15 Tactical Squad with Vexilla and Sargent with melta bombs
- 2x Apothecary
- 6 Tactical Support Squad with Plasma Guns in Rhino
- 2x Cortus Dreadnought with Kheres Assault Pattern Cannon
- Paladin Knight
The Warlord trait was Child of Terra.
 |
| Sons of Horus Army |
World Eaters Army
The Army consists of:
- Praetor with Paragon Blade, Power Fist and artificer armour
- 8 Tactical Squad, Sergeant with artificer armour
- 10 Tactical Squad, Sergeant with artificer armour
- 10 Tactical Squad with Chain axes and bolt pistol
- 1 Apothecary
- 5 Cataphractii Terminators with 2 chain fist, 1 power weapon
- Dreadclaw
- Deredeo Dreadnought
- Contemptor Dreadnought with Multi-melta
- Deimos Pattern Vindicator with Laser Destroyer
 |
| World Eaters Army |
The Warlord trait was Child of Terra.
Battle
We rolled for mission and we got Blood Feud. The deployment setup was to be on two long sides of the table.
I won the roll, so I decided to place my troops first and then take the first turn, unless he seized the initiative.
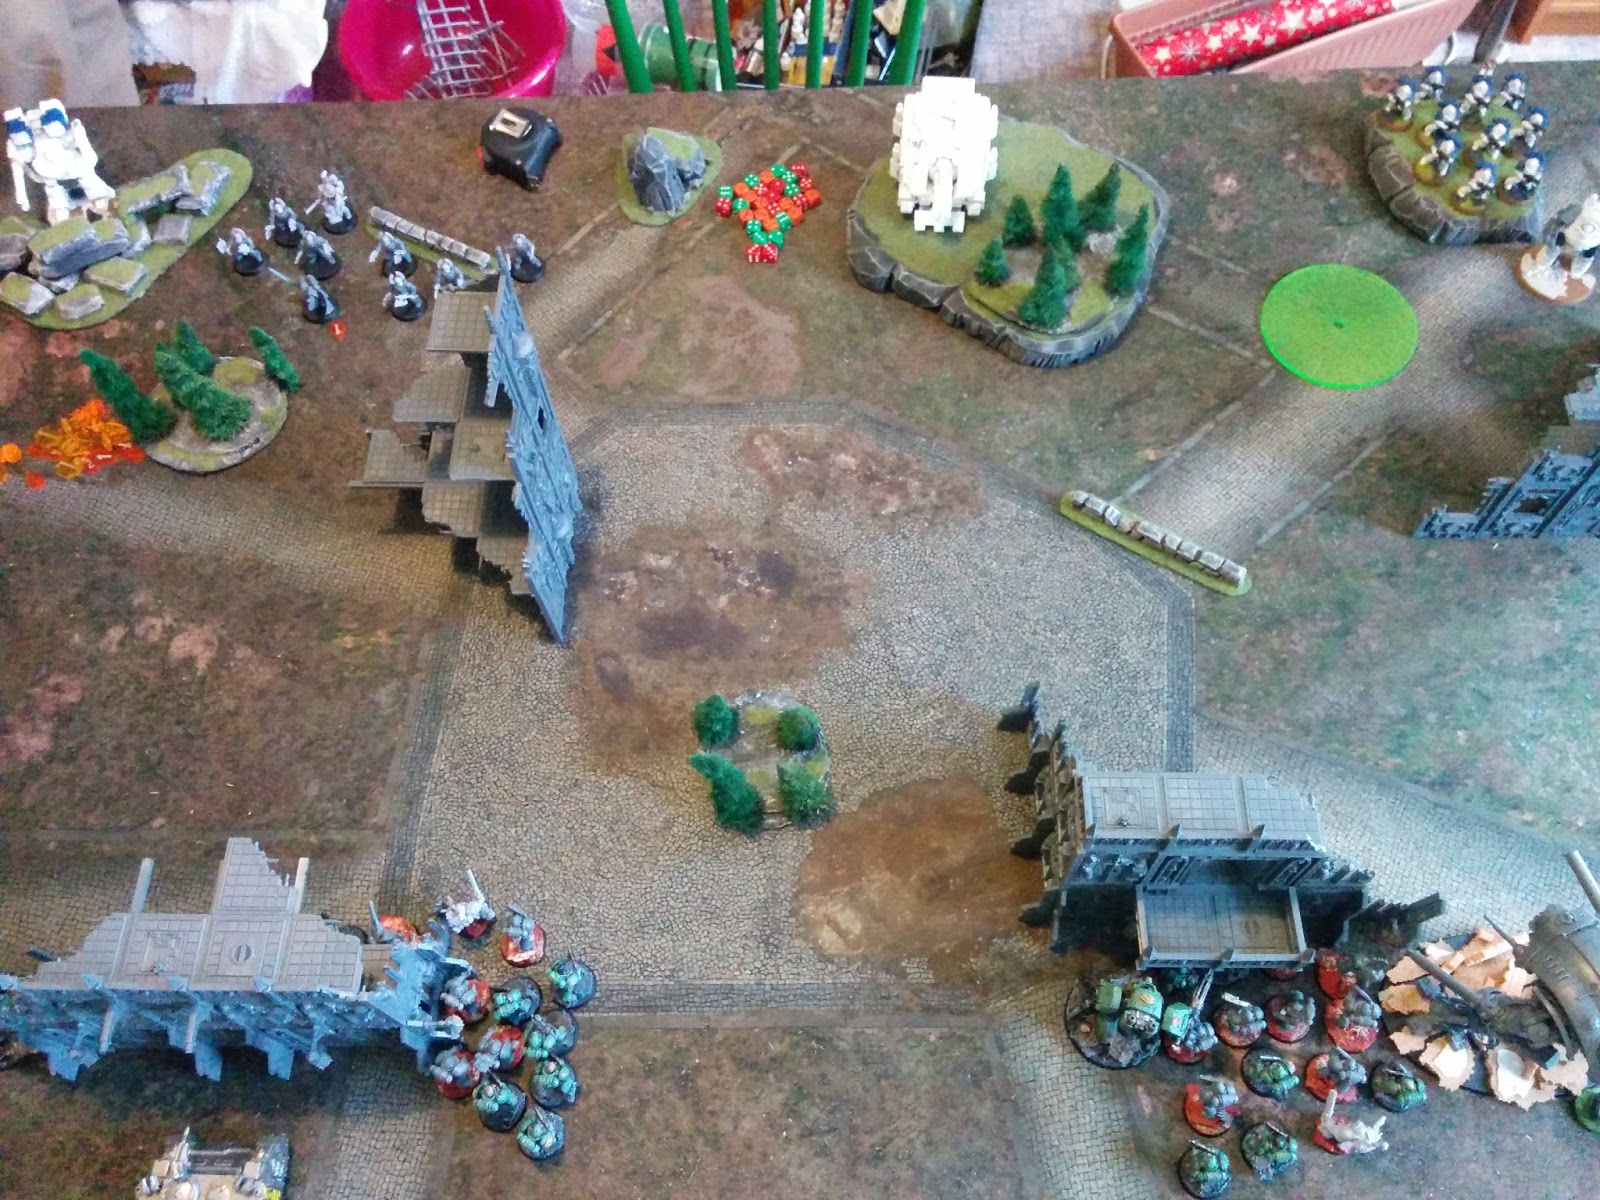
Deployment
My basic plan was to place one squad and dread in each side of the table, Rhino in cover to react to any Tank or Termi threat and the Knight to shoot anything that it can.
This is the deployment, as you can see, two big blocks, each one behind a big building.
 |
| Loyalist deployment |
This was his deployment. The Dreadclaw was in reserve to make a Deep Strike attack. Then a squad in each side, supported by either the Deredeo or the Vindicator. The squad with the Praetor would advance to tear apart anything placed in their path.
 |
| Traitor deployment |
Turn #1
He did not seize the initiative so I got to start.
The first turn was easy, just advance with both units to the cover and place the Knight with line of sight to his troops.
 |
| Turn#1 the Knight wipes out a complete squad! |
The shooting phase was quite successful as the Knight wiped out a complete unit, that was standing next to the Vindicator. Sons of Horus get the first blood!
Then it was up to his first turn, and here already the problems started!
In his shooting phase he throws everything that can shoot towards the Knight, that saves all possible attacks and stands still.
Then as expected, he made a Deep Strike with the Dreadclaw as close to the Knight as possible. It was scattered 10" backwards, so I had a bit of hope... but then the Terminators were able to move and assault just enough to get in touch with my Knight... two Chainfists incoming!
As I was fearing, the Terminators killed the Knight, that failed to kill any Terminator in return. Then it exploded with an Apocalyptic Mega-Blast Template (great name) and killed two Terminators and one Space Marine. The terminators consolidated towards my Tactical Squad.
What a turn! We are just starting and the Knight is out... this does not look nice for the Sons of Horus.
 |
| End of Turn#1 the Knight is dead! |
Turn #2
 |
| Beginning of Turn #2 |
In the second turn I decide to advance full speed with my Rhino towards the Deredeo, as it does not make sense anymore to try and defend the non-existent Knight!! Then I make the second big mistake of the game, which is advance with the tactical squad on my left flank and take positions for a possible Fury of the Legion on my next turn.
On the right side I shoot with everything at the Terminators and wipe them out of the table, vendetta for the Knight!
 |
| Turn #2. Terminators are killed |
My opponent then decides to fly over my tactical squad with the Dreadclaw, that manages to kill two marines (with S5 AP5!). Then advances on my right flank with the Dread and squad.
On my left flank I pay dearly for my previous mistake. He advances with the Praetor and his squad, and then assaults my unit, because of my movement, they are just too close. Then of course the insane amount of attacks just kills everyone on the squad, and then they consolidate, after bathing in the blood of the Sons of Horus. Sorry, no pictures for this one, but you can see the result of this Assault in the turn 3 pictures. The Praetor has only one wound left, but it seems there is nobody alive who can kill him on this flank.
Additionally the Deredeo shoots against the Rhino and manages to immobilize it, so the squad with Plasma cannot get any closer!
There it goes any hopes of destroying the Deredeo.
Turn #3
Although it seems that all is lost, as only two Dreads, one Squad and a Rhino is left, the Sons of Horus keep on fighting.
 |
| Beginning of Turn #3, right flank |
 |
| Beginning of Turn #3, left flank |
At this point of the battle, my goal was to try to kill as much as I can in order to make some points for the Campaign.
On the left flank the Plasma Squad goes out of the Rhino and then shoots at the Praetor and his squad, wiping all of the marines, but the Praetor still stands.
 |
| The plasma squad wipes out a few World Eaters |
On my left flank I put the squad on the building to get a 4++ cover and move the Dread towards the left to shoot at the Praetor. The squad cannot shoot as they did Fury of the Legion in the previous turn.
 |
| Right flank takes cover on the building |
My opponent is just cleaning up the board in this turn.
He turns the Deredeo towards my remaining Dread and destroys it. Then shoots all of his right flank against my squad, that somehow manages to survive.
On the left flank, the Praetor assaults the plasma squad and I manage to kill two of my marines during the oberwatch shoot, so all the Praetor needs to do in the assault is kill the remaining three. It was really a pity that 10 plasma shots were not able to deliver a single wound to the Praetor!
We are headed for the last turn of the game...
 |
| End of turn #3: a single Sons of Horus squad remains |
Turn #4
It is my last turn, I only have one squad and a Rhino left.
I make a Fury of the Legion shooting on my right flank against the World Eaters killing roughly half of them.
 |
| Turn #4 and the last Fury of the Legion of the game |
My opponent assaults with the Dread on my right flank and wipes out the whole squad.
On the left flank, the Rhino is destroyed by the Dreadclaw.
The game is finished with an absolute massacre for the World Eaters!
 |
| Turn #4 the last Sons of Horus squad is wiped out |
 |
| End of turn #4 |
Result
Once again it has become even more clear, if possible, that the battles in Horus Heresy are short and brutal. In this one even on turn one there was massive destruction. One whole squad and a Knight. By the end of turn two, the battle was already decided, and turn three-four is just about wiping out the remaining units.
For me it is still a re-learning exercise, as I am new to Horus Heresy and I have been out of the gaming area for more than five years... I still believe that two big squads is a must, as they can hold their ground, but they must remain at a distance, in order to benefit from their firepower with Fury of the Legion. I was quite happy with the plasma and Rhino combination.
Next steps for me are, finish building my Terminators to add a bit of close combat capabilities, and decide which Tank I should buy to add more firepower.
Although it was a clear defeat for the Sons of Horus, we checked the result for the Campaign using the Victory Points.
It was 18 for the Traitors vs 9 for the Loyalists.
The Campaign results so far are:
- four battles played
- two wins for the Loyalist, two for the Traitors
Campaign results
Emperor's Children (Loyalists) vs World Eaters (Traitors)
Scenario: Blood Feud
Result: Traitors 6, Loyalists 16
Emperor's Children (Loyalist) vs Emperor's Children (Traitors)
Scenario: Onslaught
Result: Traitors 10, Loyalists 1
Emperor's Children (Loyalist) vs Emperor's Children (Traitors)
Scenario: Shatter Strike
Result: Traitors 0, Loyalists 6
Sons of Horus (Loyalist) vs World Eaters (Traitors)
Scenario: Blood Feud
Result: Traitors 18, Loyalists 9